An overhead console from a Chrysler LHS was added during a headliner color change. |
|
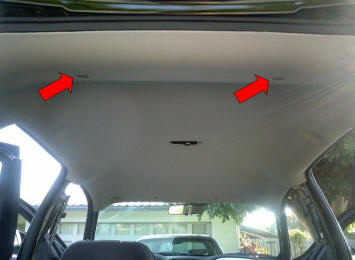 |
This 2006 PT did
not have an overhead console between the visors. One was added, here's how: Remove all the pillar plastics, sunvisors, lights, etc. There are 2 'button clips' over the rear hatch, just pull down on the headliner, the clips stay in the headliner. The headliner is held up along the sides by the door weather strips. |
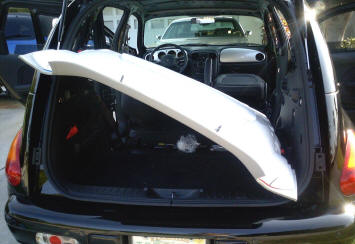 |
Once loose and
falling, remove the headliner out the rear of the car. I found it helpful to recline the seats. |
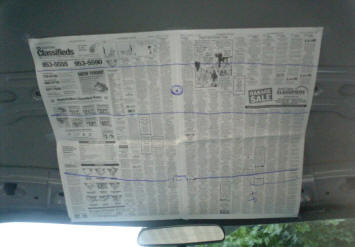 |
A paper template
was made to check for any obstructions for the overhead console. It turns out there were not any, but I'll show you how in case you use a different console. |
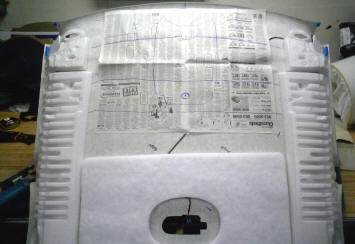 |
The paper template was transferred to the back of the headliner. |
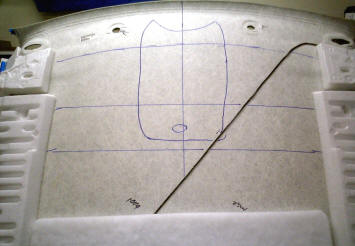 |
The original dome light wire is glued to the headliner, and was moved. |
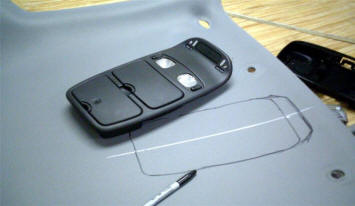 |
A center line was
drawn in caulk and the console was positioned. |
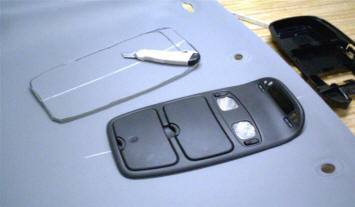 |
The headliner
'board' cuts easily with a razor knife. The console has a 'backside' however there was not enough clearance room. Small blocks of wood were glued to the back of the headliner to attach the console. |
 |
The new console
had a 'lip' at the front, a piece of foam was glued on to fill the void. (see the yellow foam?) In general- Covering a headliner is easy. Use 'High-Heat' spray contact cement. (they sell it where you buy headliner material) Fold the material back half way, glue one half... |
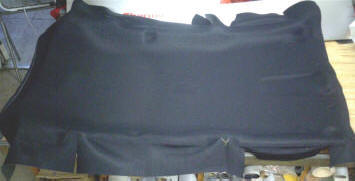 |
Then do the other
half. Notice how the edges are all too long. The factory cuts a blunt edge, I recommend you roll the edges over and glue them 1-2 inches onto the back. |
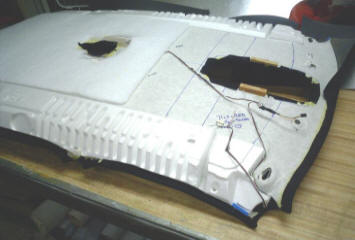 |
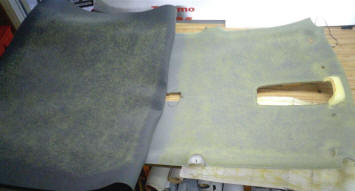
Here is the
finished headliner. Edges rolled, wooden blocks glued on, wiring harness altered for the new console. |
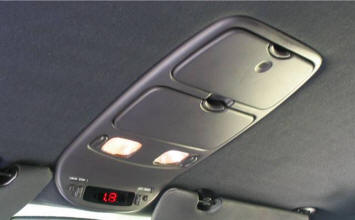 |
Done. This car has reversing radar and the LED display was originally stuck on the dash. Mounting the display in the new console seemed the natural thing to do. |